If you’ve ever wanted to transform a script into a talking video or make a still image speak, then understanding the infinitetalk workflow is critical. In this article I walk you through how I, as a creator, use the workflow on InfiniteTalk to convert text into video and images into animated talking video. By the end, you’ll understand how to set up, run, and optimize your own infinitetalk workflow—and why it’s become my go-to tool for dynamic video creation.
Why I Chose InfiniteTalk Workflow
When I first started experimenting with AI video tools, I tried many: some handled lip sync poorly, some couldn’t go beyond static images, and some couldn’t manage long scripts. Then I discovered infinitetalk workflow, which promises a unified pipeline for both text-to-video and image-to-video. The idea is that you can input either text or image + audio, and InfiniteTalk’s engine handles lip synchronization, head motion, and video rendering for you.
Because the site specializes in converting text to video and image to video, integrating a reliable workflow like this means creators don’t need to juggle multiple tools. It’s clean, end-to-end, and scalable—exactly what I’d hoped for.
Core Steps in the Infinitetalk Workflow
Below is the workflow I follow (and recommend). Each step is essential, and small tweaks can drastically improve results.
Step | Input | Process | Output |
|---|---|---|---|
1 | Text or Audio + (Optional) Image | Preprocess text into phoneme sequence / align audio; if image → detect landmarks | Phoneme/audio map, image mesh |
2 | Model Inference | Run InfiniteTalk engine to generate motion + lip sync frames | Sparse-frame video sequence |
3 | Post-Processing | Interpolate frames, smoothing, color correction | Final talking-head video |
4 | Export / Wrap | Encode to standard video format | MP4 / Web video |
I label this sequence the infinitetalk workflow. In practice, you don’t need to build each piece from scratch—on InfiniteTalk, much of this pipeline is abstracted for you. You just provide the text or image + audio, and the backend handles the heavy lifting.
Using Text-to-Video Mode
Here’s how I use the infinitetalk workflow to go from text to a speaking face video:
Write or paste your script. The site lets me input plain text.
Choose voice or audio style (if there’s a TTS engine). If you already have audio, upload it.
Select an avatar or upload a reference image (optional). This becomes the visual “face.”
Submit and let the backend run the infinitetalk workflow.
Download the result—a talking-head video where lips, expression, and head movement match the speech.
From my experience, the quality depends heavily on how clean your text/audio is. But because most of the processing is automated, the workflow feels seamless. Every time I use infinitetalk workflow for text, I get reliable sync and expressive motion.
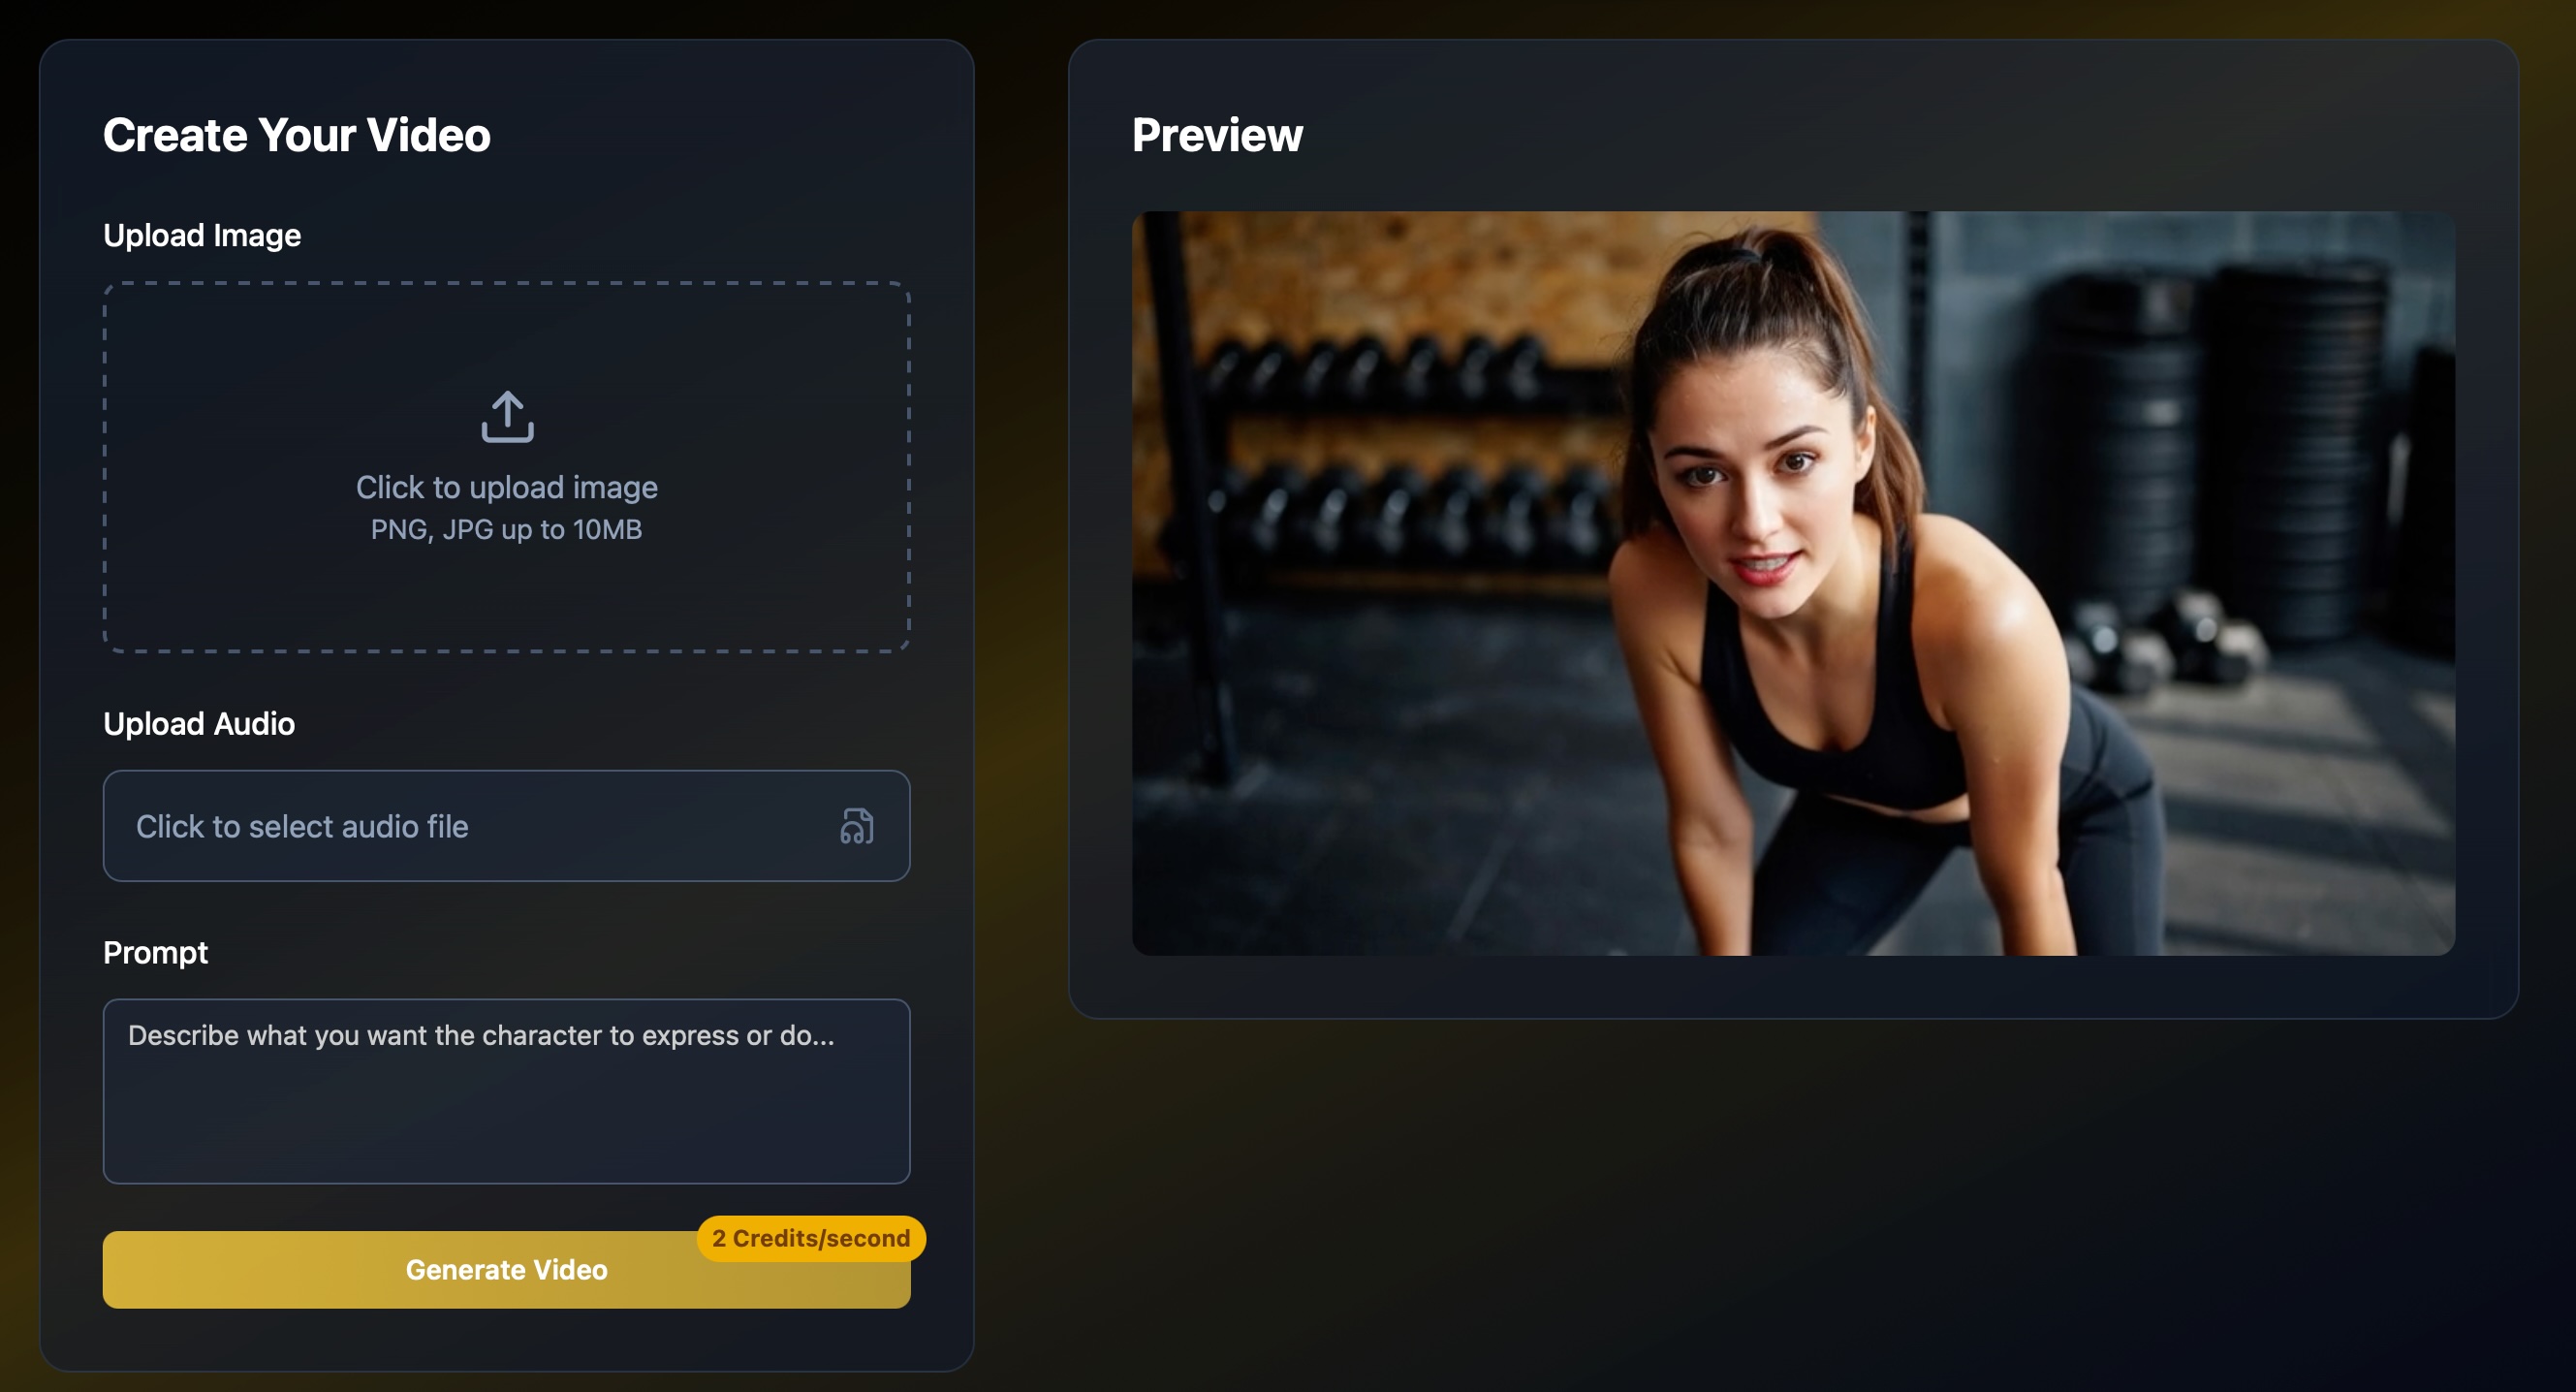
Using Image-to-Video Mode
For turning a single image into a talking video:
Upload your image (portrait-style or face close-up works best).
Upload or provide audio/text you want the image to speak.
Run the same infinitetalk workflow, which uses image-based facial landmarks + voice input.
Receive a video where that image “speaks” with synchronized lip movements, blinks, and head motion.
This is ideal for promotional content, social media, or narrators without recording video footage. I’ve used it to animate book covers, speaker portraits, or cartoon avatars. Every time, the infinitetalk workflow produces surprisingly lifelike motion from a still image.
Tips & Tweaks to Improve Results
As someone who’s iterated this workflow many times, here are tricks I’ve learned:
Use clean audio (minimal noise, clear enunciation) to help the lip-sync stage.
If your image is low resolution, use a higher-quality reference or face crop to reduce artifacts.
If head motion seems too rigid, downscale the “rotation strength” parameter in post-processing.
For long scripts, split into sections but keep transitions smooth—infinitetalk workflow handles continuity well, but abrupt gaps still show.
Always preview before final export—small adjustments in parameter sliders often fix lingering sync quirks.
Why This Workflow Matters for Creators
What I love about the infinitetalk workflow is that it turns what used to be a complex chain (text → TTS → lip sync → animation → video) into one streamlined path. For content creators, that means:
Less tool-hopping
Fewer compatibility headaches
Faster iteration cycles
More creative focus rather than technical debugging
Because InfiniteTalk offers both text-to-video and image-to-video under the same hood, creators get seamless transitions between use cases without needing to rebuild a new pipeline each time.
Final Thoughts & Call to Try
If you’re a creator looking to produce talking videos quickly and cleanly, infinitetalk workflow is what I now rely on. From text scripts to talking images, it’s become a core part of my video toolkit.
👉 Visit InfiniteTalk today and run your first text-to-video or image-to-video experiment. Use infinitetalk workflow and see how your words come alive.
I believe once you see the result, you’ll agree: this workflow transforms static content into expressive, lip-synced videos with minimal hassle—and it’s exactly what modern creators need.